The Synology DiskStation DS413 is a NAS device, that is aimed at workgroups & offices, though it could just as easily be incorporated into a home office environment too. Just to clarify NAS stands for Network Attached Storage, which is essentially a central location (or device) where you store your files so that they can be accessed by multiple users. In an office environment this might be 5,10 or 50 desktop workstations. In a home setting this might be you on your laptop, your wife on her desktop and Johnny on his iPad… you get the idea.
The DS413 is aimed at a higher level due to its specifications. It sports a dual core 1.067GHz processor, 1GB of memory, gigabit ethernet and space inside for four SATA hard drives (or SSDs). The superb specification lends itself to some impressive data throughput, which ensures that each user is not left hanging when trying to access their files.
You can see me unbox the DS413 and give you a guided tour in the following video… then please read on for my experience in setting up the device and its ease of use.
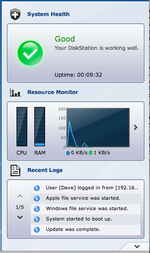 The big selling point for me on the whole Synology range is the DiskStation Manager software. This is regularly updated with new features and is a joy to use. After logging in the control panel is well laid out, with a "System Health Panel (see left) giving you a quick summary of how everything is looking, uptime, who is logged in etc. This list is also scrollable so that you can look back over the recent activity. It also allows you to monitor CPU & RAM usage. In my tests I barely touched the surface with regard to pushing the CPU, but with multiple users accessing files this is where the dual core power comes in useful.
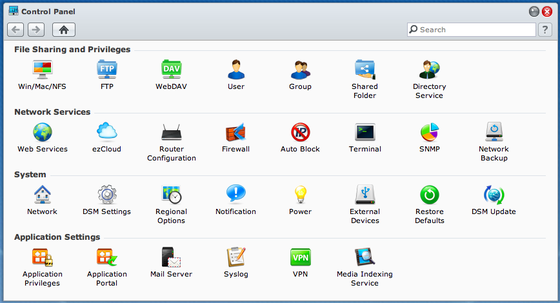
Digging further into the Control Panel (see below) shows a plethora of options which on first glance could be quite daunting. There are so many features for setting up things like FTP, WebDAV, firewall, power saving features. It could easily have been cluttered, but it is so well laid out that you can just pick the features you need to use very easily.
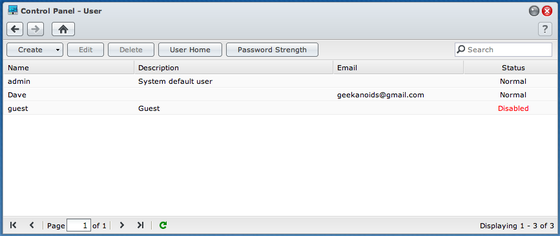
Clicking 'User' presents you with a list of current users, you can see below that I already have an admin, myself & account guest setup (although I have this disabled at the moment).
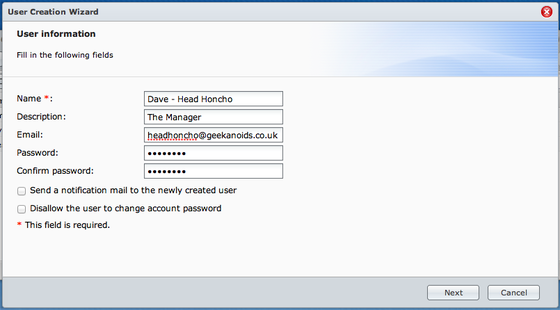
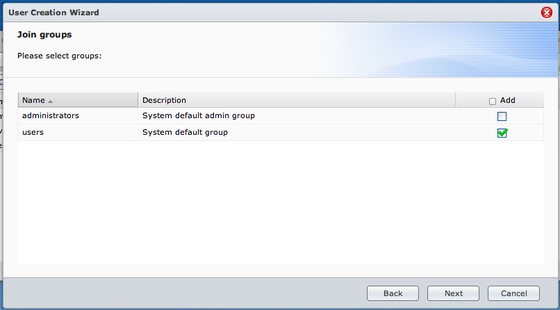
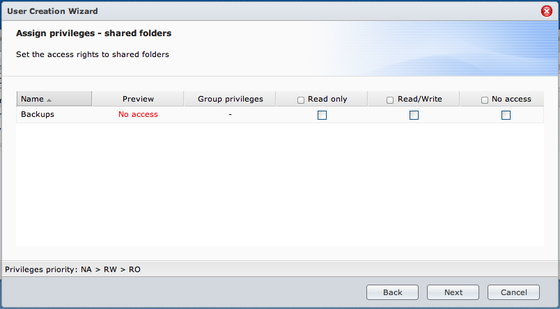
Clicking the 'Create' button (top left) brings up the window below, where you can input details of a new user. After inputting the username, description, password & email, you are then guided through adding your new user to a specific group, followed by "assigning priveleges" which is essentially setting what files you are granting them access to, plus whether they can read only, or write files to the NAS too. It is all presented so clearly, that I fail to see how anyone would have trouble setting up many of the features using DiskStation Manager.
It is this ease of use that Synology seamlessly delivers across their range. This is thanks to all their devices using the same front end user interface. The hardware speaks for itself and with the DS413 you get awesome build quality, coupled with excellent performance, a truly winning combination. Where others try, with sometimes clunky software and hardware that just about supports one or two users, the Synology DS413 has the power to support multiple users without falling over. It also offers up many high end features such as VPN, antivirus, PHP/MySQL to name just a few. There are a lot more features than those I have covered here, enough to write a book really. I will share more features in future product reviews.
Synology's website can be found here … please do check them out.

